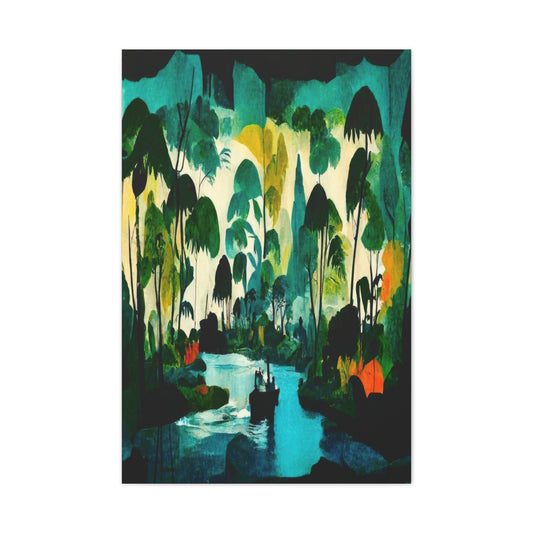
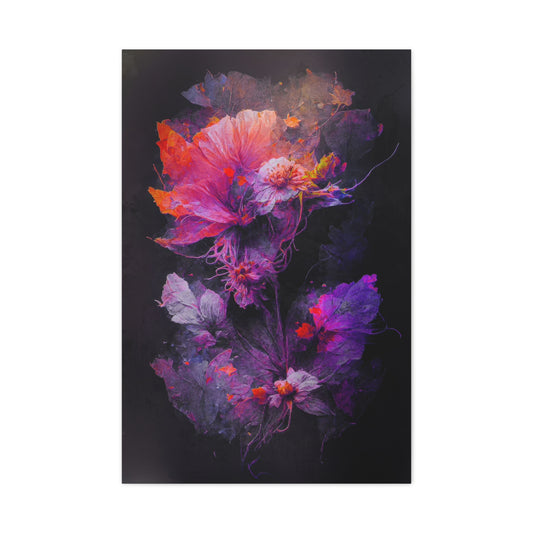
Travel not only broadens the mind but also fills our lives with stories and memories that we wish to hold onto forever. In the digital age, where photos often remain hidden away on devices, creating themed Wallpics displays can beautifully bridge the gap between digital memories and our daily lives. Imagine transforming your home into a gallery of your adventures, with each Wallpic telling a story of exploration, discovery, and the beauty of the places you've visited.
Whether it's the vibrant streets of Barcelona, the serene landscapes of Iceland, or the bustling markets of Marrakech, themed Wallpics allow you to capture the essence of your travels and adventures, creating a visual diary that adorns your walls and keeps the spirit of wanderlust alive within your home.
Turning Your Home into a Travel Gallery
Turning your home into a travel gallery with Wallpics involves a thoughtful selection of photos and arrangements to best evoke the memories and emotions tied to your adventures. Here's a step-by-step guide to help you in this creative endeavor:
Selecting Travel Photos for Your Wallpics
- Reflect on the Journey: Begin by reflecting on the essence of your travels. What moments captured the true spirit of your adventure?
- Choose a Theme: Decide on a theme, such as landscapes, urban adventures, or cultural experiences. This will guide your selection process.
- Variety and Balance: For a dynamic display, mix close-up shots with panoramic views. Consider the colors and compositions to create a visually appealing collection.
- Emotional Connection: Prioritize photos that stir emotions or evoke memories, as these will be most meaningful to you and intriguing to your guests.
Creating Thematic Displays
- Landscapes: Sequence your landscape photos by color or time of day to mimic a natural transition, creating a serene and immersive experience.
- Urban Adventures: Arrange urban shots by themes, such as street art, architectural marvels, or bustling street scenes, to capture the energy of city life.
- Cultural Experiences: Display cultural photos with artifacts or souvenirs from your travels, integrating stories and tangible memories into the visual narrative.
Arranging Wallpics to Tell a Story
- Chronological Layout: Arrange your Wallpics in chronological order to narrate your travel story from start to finish, giving viewers a sense of progression through your adventure.
- Mood-based Arrangement: Group photos by mood or color scheme to evoke specific feelings, such as tranquility, joy, or awe, creating an emotional impact on the viewer.
- Focal Points: Designate standout photos as focal points and arrange others around them in complementary patterns. This setup draws attention to key moments or experiences.
By carefully selecting and arranging your travel photos, your Wallpics display can transcend mere decoration, becoming a source of inspiration and a living testament to the journeys that have shaped you. Whether reliving your adventures or sharing them with others, your travel gallery will keep the essence of wanderlust alive and well within your home.
Creative Ideas for Your Displays
Integrating Variety and Personal Touches into Your Displays
- Mix of Perspectives: Combining landscapes with close-up shots adds a layer of variety and depth to your Wallpics displays. The grandioseness of landscapes paired with the detailed intimacy of close-ups captures the full spectrum of your travel experiences. From the sweeping vistas of mountains to the intricate details of a local market's spices, this mix invites viewers to see the world through your eyes, both in its vastness and in its details.
- Journey Through Places: Showcasing photos from different trips can illustrate the breadth of your travels and the diversity of experiences you've collected. This approach turns each Wallpic cluster into a chapter of your global adventures, inviting guests to travel the world across your walls. From the cobblestone streets of Europe to the sandy beaches of the Caribbean, your home becomes a mosaic of unforgettable places.
- Adding Context with Quotes and Dates: Personalizing your Wallpics with added text like quotes or dates provides context and emotional resonance. A quote that captures the essence of your adventure or a date that marks a significant moment can transform a photo from a mere image into a story. This layer of personalization enriches the narrative of your displays, making each Wallpic not just a piece of art but a canvas of memories.
Maintaining and Updating Your Collection
When to Update Your Displays
Updating your wallpaper displays can breathe new life into your living spaces, ensuring that your home continually reflects your latest adventures and tastes. Consider updating your displays when you:
- Return from a New Journey: After coming back from a trip, integrating new photos can keep your travel narratives current.
- Redecorate or Move: Changing your home's decor or moving to a new space can necessitate a fresh arrangement that complements your new surroundings.
- Seasonal Changes: Seasonal updates can refresh the feel of a room, with brighter pictures for spring and summer or warmer tones for autumn and winter.
- Special Anniversaries or Milestones: Marking life's milestones or anniversaries with related Wallpics can serve as a beautiful reminder of those special moments.
Storing and Preserving Photos Not Currently on Display
When not on display, it's essential to store your Wallpics properly to ensure they remain in pristine condition for future use. Steps to preserve your photos include:
- Temperature-Controlled Storage: Store your wallpaper in a cool, dry place to prevent damage from humidity or heat.
- Avoid Direct Sunlight: Even when stored, avoid placing your Wallpics where direct sunlight can reach them to prevent fading.
- Protective Coverings: Use soft, lint-free cloths or specially designed photo storage boxes to prevent scratches and dust accumulation.
Rearranging Wallpics Without Damaging Your Walls
Wallpics are designed for easy installation and rearrangement without harming your walls. To rearrange your Wallpics:
- Use the Appropriate Adhesive: Ensure you use the recommended adhesive strips that come with Wallpics for easy removal and adjustment.
- Gently Remove: When removing Wallpics, carefully peel off from the wall by pulling the adhesive strip parallel to the wall, rather than away from it, to minimise wall damage.
- Clean the Wall Before Reapplying: If you're placing Wallpics in a new spot, lightly clean the wall surface before applying new adhesive strips to ensure they stick properly.
- Plan Your Layout: Before attaching anything to the wall, plan your layout on the floor to minimize adjustments and repositioning.


