-
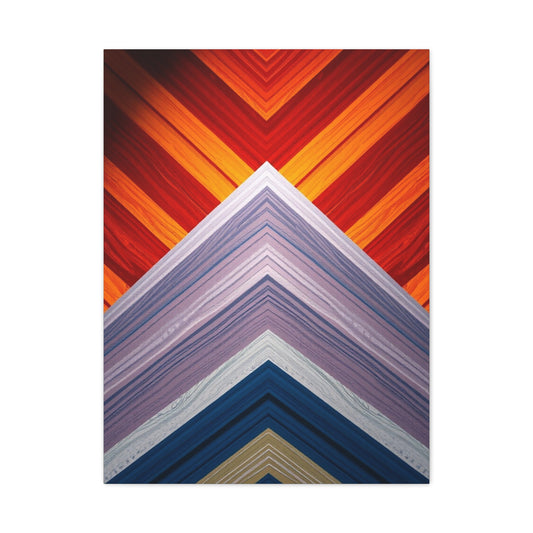
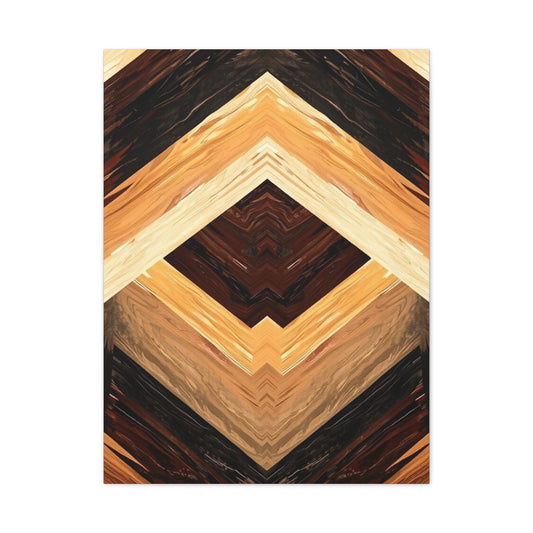
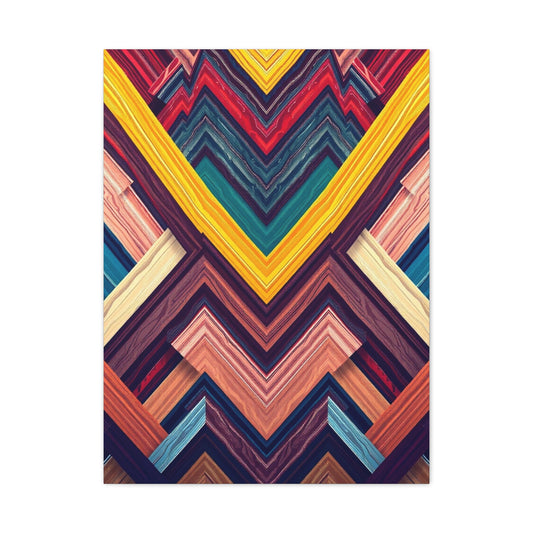
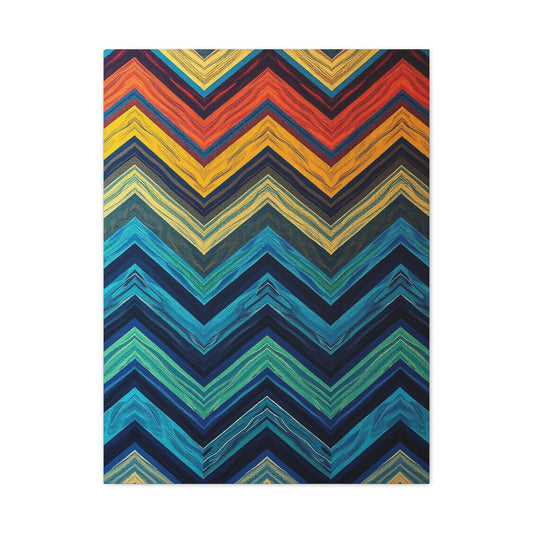
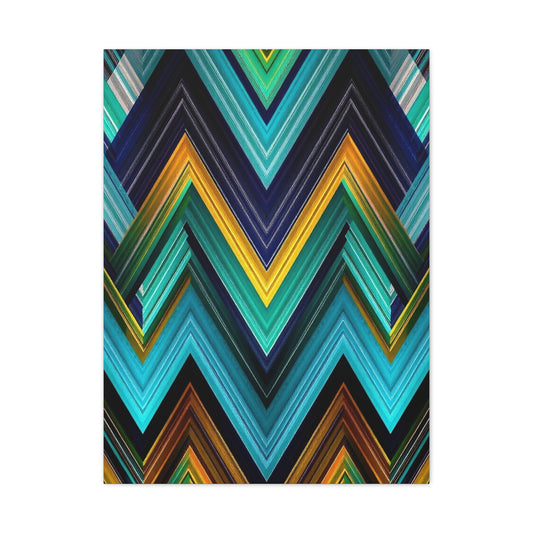
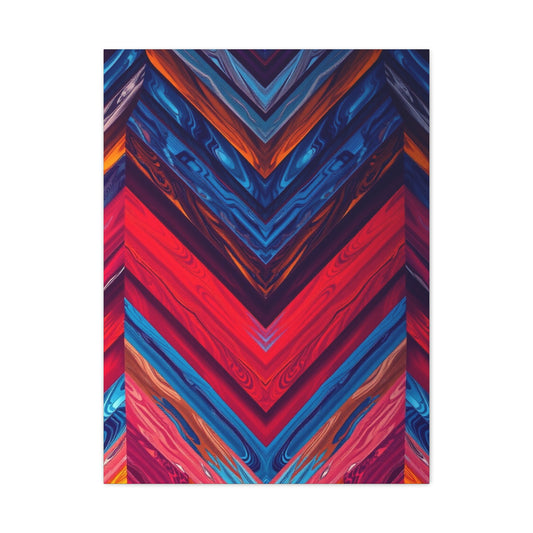
Chevron Pattern Art Supreme Canvas Wall Art & Canvas Print
Regular price From $141.23 USDRegular priceUnit price per -
Chevron Pattern Art Luxury Canvas Wall Art & Canvas Print
Regular price From $141.23 USDRegular priceUnit price per -
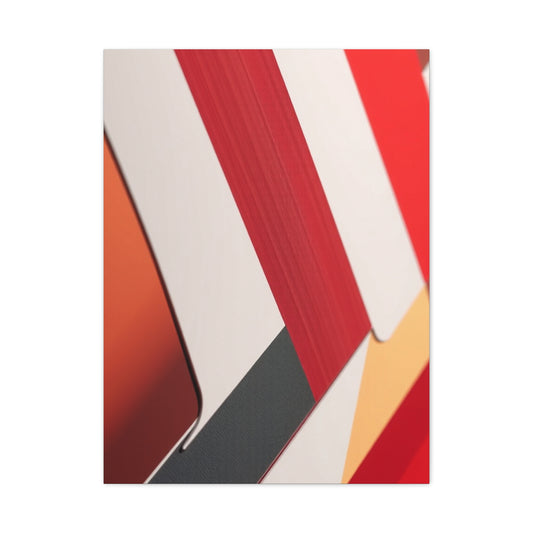
Collection Chevron Pattern Art Art Wall Art & Canvas Print
Regular price From $141.23 USDRegular priceUnit price per -
Vision Chevron Pattern Art Art Wall Art & Canvas Print
Regular price From $141.23 USDRegular priceUnit price per -
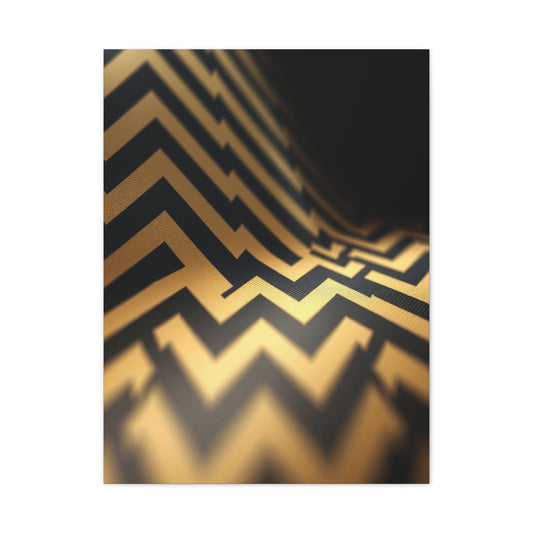
Chevron Pattern Art Supreme Gallery Wall Art & Canvas Print
Regular price From $141.23 USDRegular priceUnit price per -
Elite Chevron Pattern Art Vision Wall Art & Canvas Print
Regular price From $141.23 USDRegular priceUnit price per -
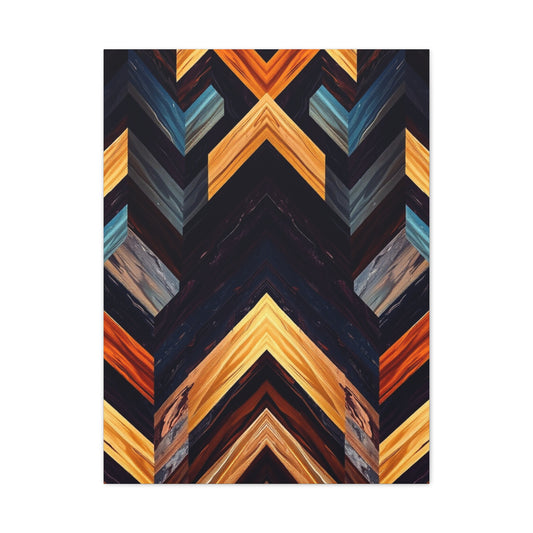
Chevron Pattern Art Refined Canvas Wall Art & Canvas Print
Regular price From $141.23 USDRegular priceUnit price per -
Masterpiece Chevron Pattern Art Vision Wall Art & Canvas Print
Regular price From $141.23 USDRegular priceUnit price per -
Supreme Chevron Pattern Art Collection Wall Art & Canvas Print
Regular price From $141.23 USDRegular priceUnit price per
Stunning DIY Chevron Wood Wall Art: Complete Guide to Creating Magnificent Decorative Pieces
Creating beautiful chevron wood wall art represents one of the most rewarding woodworking endeavors for both novice craftspeople and seasoned artisans. This timeless geometric pattern brings sophistication and visual interest to any living space while remaining surprisingly accessible for those just beginning their woodworking journey. The distinctive V-shaped pattern creates mesmerizing optical effects that can transform ordinary rooms into extraordinary showcases of handcrafted beauty.
Chevron patterns have graced architectural elements and decorative surfaces for centuries, appearing in everything from ancient Roman mosaics to contemporary interior design schemes. This enduring appeal stems from the pattern's ability to create dynamic visual movement while maintaining perfect geometric precision. When translated into wood wall art, the chevron pattern takes on new dimensions of texture, warmth, and natural beauty that synthetic materials simply cannot replicate.
The process of crafting chevron wood wall art involves careful planning, precise cutting, and thoughtful assembly, but the results justify every moment spent perfecting the craft. Each piece becomes a unique expression of the creator's skill and artistic vision, while the natural variations in wood grain ensure that no two projects are ever exactly alike. This inherent uniqueness adds tremendous value and personal meaning to each completed work.
Understanding Chevron Patterns and Their Timeless Appeal
The chevron pattern consists of repeated V-shaped elements that create a continuous zigzag design across a surface. This geometric arrangement produces fascinating visual effects that can make spaces appear larger, add directional emphasis, or create focal points that draw the eye naturally through a room. The pattern's versatility allows it to complement both traditional and contemporary design aesthetics with equal effectiveness.
When examining chevron patterns in historical contexts, we discover their presence in diverse cultures worldwide. Ancient Greek pottery featured chevron motifs, while medieval European architecture incorporated these patterns into stone carvings and timber frameworks. Native American textiles and basketry traditions have long celebrated chevron designs as symbols of natural forces like lightning, rivers, and mountain ridges.
In contemporary interior design, chevron patterns have experienced remarkable popularity due to their ability to add visual interest without overwhelming existing decor elements. The pattern works equally well in minimalist Scandinavian-inspired spaces and richly layered bohemian environments. This adaptability makes chevron wood wall art an excellent investment for homeowners who appreciate design flexibility.
The mathematical precision required to create perfect chevron patterns appeals to those who enjoy working with exact measurements and angles. Each piece must be cut to precise specifications to ensure proper alignment and seamless pattern flow. This attention to detail develops valuable woodworking skills while producing visually stunning results that reflect the maker's commitment to craftsmanship excellence.
Essential Materials and Tools for Chevron Wood Wall Art Projects
Selecting appropriate materials forms the foundation of any successful chevron wood wall art project. Cedar lumber stands out as an exceptional choice due to its natural resistance to moisture, insects, and decay. The wood's distinctive grain patterns and warm coloration create beautiful visual depth when arranged in chevron formations. Cedar's relatively soft texture makes it easy to work with using standard woodworking tools, while its aromatic properties add a pleasant sensory dimension to completed projects.
Dimensional lumber in standard sizes like one-inch by four-inch boards provides consistent thickness and width measurements that simplify the cutting and assembly process. These standardized dimensions ensure that pieces fit together properly while maintaining uniform appearance throughout the finished work. The availability of pre-milled lumber saves considerable time compared to preparing raw timber, making projects more accessible to woodworkers with limited time or equipment.
High-quality plywood or medium-density fiberboard serves as the backing material that provides structural support for the entire assembly. This substrate must be perfectly flat and dimensionally stable to prevent warping or distortion over time. The backing material should be slightly smaller than the finished chevron pattern to ensure it remains completely hidden behind the decorative elements.
A comprehensive tool collection ensures efficient and accurate project completion. The miter saw stands as the most crucial tool for creating precise forty-five-degree angle cuts that define the chevron pattern. This specialized saw allows for repeatable, accurate cuts that would be extremely difficult to achieve with hand tools alone. A circular saw proves invaluable for cutting backing materials and frame components to exact dimensions.
Power sanders equipped with various grit sandpapers smooth rough surfaces and prepare wood for finishing treatments. Starting with coarser grits like one-hundred-twenty removes material quickly, while progressing to finer grits like two-hundred-twenty produces smooth, professional-quality surfaces ready for staining or clear coating applications.
Brad nailers and quality wood glue create strong, lasting joints between components while minimizing visible fastener marks. These pneumatic tools drive thin nails precisely without splitting delicate wood fibers, resulting in clean, professional-looking assemblies. High-strength wood adhesives provide additional holding power that ensures long-term structural integrity.
Planning Your Chevron Wood Wall Art Design
Successful chevron wood wall art projects begin with careful planning that considers both aesthetic goals and practical constraints. The overall dimensions of the finished piece should complement the intended installation location while maintaining proper proportional relationships. Larger walls can accommodate bold, expansive chevron patterns, while smaller spaces benefit from more intimate scaling that doesn't overwhelm the surrounding environment.
Determining the individual chevron piece dimensions requires balancing visual impact with material efficiency. Smaller pieces create intricate, detailed patterns that reward close inspection, while larger elements produce bold, dramatic effects visible from greater distances. The width of each piece influences the overall pattern scale and should be chosen to create pleasing proportional relationships with the wall space and surrounding furnishings.
Color and finish planning significantly impacts the final appearance and should be considered during the initial design phase. Natural wood finishes celebrate the material's inherent beauty while providing timeless appeal that complements various decorating schemes. Painted finishes offer opportunities for bold color statements or subtle tonal variations that enhance the geometric pattern's visual impact.
The number of chevron columns affects both the pattern's complexity and the project's material requirements. Odd numbers of columns often create more visually pleasing compositions due to the natural focal point created by the central element. However, even numbers of columns can work well when the pattern extends beyond the visible frame boundaries, creating the impression of a larger, continuous design.
Sketching the proposed design on paper or using design software helps visualize the finished result and identify potential issues before beginning construction. These preliminary drawings serve as valuable references during the building process and help maintain consistent proportions throughout the project. Digital design tools can simulate different wood species, finishes, and color combinations to aid in decision-making.
Cutting Techniques for Perfect Chevron Angles
Creating precise chevron angles requires mastery of miter saw operation and setup techniques that ensure consistent, accurate results. The forty-five-degree angle that defines chevron geometry must be maintained across all pieces to achieve proper pattern alignment. Even small deviations from this critical angle become magnified when pieces are assembled, potentially disrupting the entire pattern's visual flow.
Setting up the miter saw with a reliable fence system creates consistent piece lengths while maintaining angle accuracy. Clamping a stop block to the fence at the desired measurement allows for rapid, repeatable cuts without the need for individual piece marking. This setup technique dramatically improves efficiency while ensuring uniform dimensions across all pattern elements.
The cutting sequence significantly impacts both efficiency and accuracy. Grouping similar cuts together minimizes saw adjustments and reduces the likelihood of measurement errors. Cutting all pieces that angle in one direction before switching to the opposite angle maintains consistency and helps identify any setup issues before they affect large numbers of pieces.
Safety considerations become paramount when making repetitive angled cuts on relatively small pieces. Proper workpiece support prevents dangerous kickback while ensuring clean, accurate cuts. Using push sticks and feather boards maintains safe hand positioning while providing consistent pressure against the fence and saw table.
Blade selection influences both cut quality and safety during chevron piece preparation. Sharp, fine-toothed blades produce smooth cuts that require minimal sanding, while appropriate blade geometry reduces the risk of tear-out or burning. Regular blade maintenance ensures consistent performance throughout the project and extends tool life.
Quality control during the cutting process prevents compounding errors that become increasingly difficult to correct as assembly progresses. Test-fitting pieces periodically during cutting allows for immediate adjustment of saw settings if drift or inaccuracy develops. This proactive approach saves time and materials while ensuring professional results.
Assembly Strategies for Seamless Pattern Flow
Successful chevron pattern assembly requires systematic approaches that maintain proper alignment while accommodating the natural variations present in wood materials. Beginning with a solid, flat work surface provides the foundation for accurate assembly and helps prevent warping or distortion during the glue-up process. The work surface should be larger than the finished project to allow adequate space for clamping and adjustment.
Dry-fitting all pieces before applying adhesive reveals potential fit issues and allows for necessary adjustments before permanent bonding occurs. This preliminary assembly step helps identify pieces that may need additional trimming or adjustment to achieve perfect pattern flow. Taking photographs of the successful dry-fit arrangement provides valuable reference during the final glue-up process.
Creating reference lines on the backing material guides piece placement and ensures consistent alignment throughout the assembly process. These guidelines help maintain straight rows and proper spacing between pattern elements. Using a reliable straightedge and sharp marking tools creates clear, accurate reference points that remain visible throughout the assembly process.
Glue application techniques significantly impact both bond strength and working time during assembly. Applying adhesive to the backing material rather than individual pieces provides better control over glue distribution and prevents excess adhesive from interfering with piece placement. Working in manageable sections allows adequate time for positioning and adjustment before the adhesive begins to set.
Clamping strategies must balance adequate pressure for strong bonds with the need to maintain pattern alignment and prevent glue squeeze-out. Using cauls or protective blocks distributes clamping pressure evenly while protecting finished surfaces from clamp marks. Strategic placement of clamps maintains proper piece relationships while the adhesive cures.
Addressing gaps and inconsistencies during assembly prevents these minor issues from becoming major visual distractions in the finished work. Small gaps can often be closed by adjusting adjacent pieces, while larger inconsistencies may require selective trimming or piece replacement. Maintaining flexibility during assembly allows for these necessary adjustments.
Surface Preparation and Sanding Considerations
Proper surface preparation forms the critical foundation for all subsequent finishing steps and directly impacts the final appearance quality. Beginning with appropriate grit sandpaper removes mill marks and surface imperfections while establishing consistent surface texture across all pattern elements. The goal is achieving uniform smoothness that allows finishes to penetrate evenly and appear consistent.
Progressive sanding through increasingly fine grits produces surfaces that accept stains and clear coats uniformly. Starting with one-hundred-twenty grit sandpaper removes significant imperfections and mill marks, while progressing through one-hundred-fifty and one-hundred-eighty grits refines the surface texture. Finishing with two-hundred-twenty grit produces smooth surfaces ready for the finest finishing treatments.
Sanding techniques must preserve the precise geometry that defines chevron patterns while improving surface quality. Using sanding blocks or powered sanders with dust collection systems maintains flat surfaces while controlling airborne particles. Hand sanding may be necessary in confined areas where powered tools cannot reach effectively.
Edge treatment deserves special attention since these areas receive concentrated visual focus in geometric patterns. Slightly rounding sharp edges creates more comfortable tactile experiences while reducing the likelihood of finish buildup that can create visible lines. This subtle detailing contributes significantly to the professional appearance of completed projects.
Dust removal between sanding steps prevents contamination that can cause finish defects. Using tack cloths or compressed air removes all traces of sanding residue before proceeding to finer grits or finishing applications. This attention to cleanliness ensures optimal results at each stage of the preparation process.
Inspection and quality control during sanding identify areas requiring additional attention before finishing begins. Proper lighting reveals surface imperfections that might otherwise remain hidden until finish application makes them prominently visible. Addressing these issues during preparation prevents disappointing results in the finished work.
Finishing Options for Enhanced Beauty and Protection
Selecting appropriate finishing treatments enhances both the aesthetic appeal and long-term durability of chevron wood wall art projects. Natural clear coats celebrate wood's inherent beauty while providing protection against environmental factors that could cause deterioration over time. These transparent finishes allow grain patterns and natural color variations to remain prominently featured in the finished work.
Water-based polyurethane finishes offer excellent protection with minimal environmental impact and reduced odor during application. These modern formulations dry quickly, resist yellowing, and clean up easily with soap and water. Multiple thin coats build durable protection while maintaining clarity that showcases the wood's natural characteristics.
Oil-based finishes penetrate deeper into wood fibers and often enhance grain contrast more dramatically than water-based alternatives. However, these products require more careful handling, longer drying times, and produce more volatile organic compounds during application. The enhanced richness they provide may justify these additional considerations for certain projects.
Staining options allow for dramatic color transformations while maintaining wood texture and grain visibility. Pre-stain conditioners ensure even color absorption, particularly important when working with woods that tend to blotch or absorb stain unevenly. Test panels help predict final appearance and allow for color adjustments before treating the actual project.
Application techniques significantly influence finish quality and durability. Using high-quality brushes appropriate for the chosen finish type prevents brush marks while ensuring adequate coverage. Working in manageable sections maintains wet edges that blend seamlessly, while proper brush loading prevents drips and runs.
Between-coat preparation maintains smooth surfaces and promotes excellent adhesion for subsequent layers. Light sanding with fine abrasives levels the surface while providing mechanical bonding sites for the next coat. Thorough dust removal ensures clean application conditions that produce professional-quality results.
Framing Methods for Professional Presentation
Professional-quality framing elevates chevron wood wall art from simple craft projects to sophisticated decorative elements worthy of prominent display. Frame design should complement rather than compete with the chevron pattern while providing necessary structural support and visual containment. Simple, clean lines often work best, allowing the geometric pattern to remain the primary visual focus.
Material selection for frames should harmonize with the primary wood species while potentially introducing subtle contrasts that enhance the overall composition. Using the same species as the chevron elements creates unified appearance, while contrasting woods can add visual interest without overwhelming the pattern. Consider grain direction and color relationships when making these selections.
Frame joinery techniques must balance strength requirements with aesthetic considerations. Simple butt joints work well for painted frames where joint lines will be concealed, while more sophisticated joinery like miters or finger joints creates attractive details in natural wood frames. The chosen technique should match the overall project's quality level and intended use.
Sizing frames requires careful measurement and consideration of visual proportions. Frames that are too narrow may appear inadequate for the pattern's visual weight, while overly wide frames can dominate the composition. Mock-up different frame widths using cardboard or scrap materials helps determine optimal proportions before committing to final dimensions.
Attachment methods must securely connect frame elements to the chevron assembly while allowing for natural wood movement. Mechanical fasteners like screws provide strong connections that can be disassembled if necessary, while adhesive bonds create permanent attachments suitable for most applications. Consider long-term maintenance requirements when selecting attachment methods.
Profile details in frame design can enhance the overall presentation while maintaining appropriate scale relationships. Simple chamfered edges create subtle visual interest without competing with the chevron pattern, while more elaborate profiles may overwhelm delicate geometric compositions. The frame's visual weight should balance the pattern's complexity and boldness.
Mounting Hardware and Installation Considerations
Selecting appropriate mounting hardware ensures safe, secure installation while maintaining the artwork's intended presentation angle and position. Wall-mounted chevron art requires hardware capable of supporting the combined weight of wood elements, backing material, and frame components. Underestimating these loads can result in failures that damage both the artwork and surrounding wall surfaces.
Toggle bolts and wall anchors provide secure mounting points in drywall installations where wall studs are not conveniently located. These specialized fasteners distribute loads across larger wall areas, reducing the risk of failure or damage. Heavy artwork may require professional installation or structural modifications to ensure adequate support.
French cleat systems offer elegant solutions for hanging heavy wall art while allowing easy removal for cleaning or relocation. These two-part systems distribute weight evenly while providing positive mechanical engagement that prevents accidental displacement. The hardware remains largely invisible while providing superior holding strength compared to conventional picture hanging methods.
Positioning artwork at appropriate heights enhances viewing experience and integrates the piece effectively with surrounding furnishings and architectural elements. Standard guidelines suggest hanging artwork so that center points align with viewers' eye levels, typically around fifty-seven to sixty inches from floor level. However, specific room proportions and furniture arrangements may dictate different positioning.
Lighting considerations significantly impact the visual effectiveness of chevron patterns and should be evaluated during installation planning. Natural light sources create changing shadow patterns that enhance geometric complexity, while artificial lighting can be positioned to emphasize specific aspects of the pattern. Avoid harsh directional lighting that creates strong shadows obscuring pattern details.
Level installation ensures proper visual balance and prevents the artwork from appearing crooked or poorly positioned. Using reliable spirit levels during installation creates professional results that enhance the artwork's sophisticated appearance. Even small deviations from level become visually distracting in geometric patterns where precision is expected.
Pattern Variations and Design Alternatives
Exploring different chevron pattern variations opens creative possibilities beyond basic geometric arrangements. Varying the width of individual elements creates visual rhythm and interest while maintaining the fundamental chevron character. Alternating wide and narrow pieces produces dynamic effects that draw the eye along the pattern's directional flow.
Color variations within chevron patterns add complexity and visual depth while allowing for greater integration with existing interior color schemes. Subtle tonal variations create sophisticated effects, while bold color contrasts produce dramatic focal points suitable for contemporary design schemes. Consider how color choices will age over time and remain compatible with evolving decorating preferences.
Mixed wood species introduce natural color and grain variations that create organic complexity within geometric precision. Combining light and dark woods produces striking contrasts, while species with similar coloration but different grain patterns add subtle textural interest. Ensure that chosen species have similar expansion characteristics to prevent joint problems over time.
Scale variations can transform the visual impact of chevron patterns dramatically. Large-scale elements create bold, dramatic statements suitable for expansive wall areas, while smaller elements produce intricate details that reward close examination. Consider viewing distances and room proportions when selecting appropriate scales.
Directional changes within single pieces can create more complex geometric relationships while maintaining chevron fundamentals. Stepped patterns, curved transitions, or angular breaks introduce sophisticated design elements that elevate simple patterns into architectural features worthy of focal point status.
Dimensional variations add sculptural qualities that transform flat wall art into three-dimensional compositions. Varying the thickness of individual elements creates shadow patterns that change with lighting conditions, while angled installations produce dramatic perspective effects. These approaches require more complex construction but produce correspondingly sophisticated results.
Troubleshooting Common Assembly Issues
Gap problems between chevron pieces often result from accumulated cutting errors or wood movement after assembly. Small gaps can sometimes be concealed with wood filler or caulk that matches the surrounding wood color, while larger gaps may require piece replacement or pattern adjustment. Prevention through careful cutting and immediate assembly produces better results than attempted corrections.
Alignment issues typically stem from inaccurate reference lines or inconsistent cutting angles. Using reliable measuring tools and double-checking all setup measurements prevents most alignment problems. When alignment issues occur during assembly, stopping to identify and correct the source prevents propagation of errors throughout the remaining work.
Finish problems like blotchy stain absorption or uneven sheen often trace back to inadequate surface preparation or inconsistent application techniques. Some wood species require pre-treatment with conditioning products to ensure uniform finish absorption. Test panels help identify potential issues before treating the actual project.
Joint separation problems usually indicate inadequate clamping pressure during glue-up or contaminated bonding surfaces. Proper surface preparation and appropriate adhesive selection create joints stronger than the surrounding wood. Climate changes can stress joints, making initial bond quality crucial for long-term success.
Warping or distortion issues often result from moisture imbalances or inadequate support during construction. Maintaining consistent moisture content throughout the project and providing adequate backing support prevents most distortion problems. Severe warping may require reconstruction with properly prepared materials.
Color matching challenges arise when working with natural materials that exhibit inherent variation. Careful material selection during the planning phase minimizes color inconsistencies, while strategic piece placement can disguise unavoidable variations. Accept some natural variation as part of the wood's character rather than viewing it as a defect.
Maintenance and Long-Term Care Strategies
Establishing regular maintenance routines preserves the beauty and structural integrity of chevron wood wall art throughout its service life. Dusting with soft, dry cloths removes accumulated particles that can dull finishes and trap moisture against wood surfaces. Avoid harsh cleaning products that might damage protective finishes or alter wood appearance.
Climate control significantly impacts wood stability and finish longevity. Maintaining consistent temperature and humidity levels prevents excessive expansion and contraction that can stress joints and cause finish failure. Seasonal adjustments may be necessary in climates with extreme variations.
Periodic inspection identifies developing problems before they require major repairs. Look for joint separation, finish deterioration, or mounting hardware loosening that could indicate structural issues. Early intervention prevents minor problems from escalating into major repairs or safety hazards.
Refinishing schedules depend on environmental conditions and finish type, but most clear coats benefit from renewal every five to ten years. Light sanding and fresh topcoats restore protection and appearance without requiring complete refinishing. Document the original finish type and application details to ensure compatible maintenance products.
Handling and relocation procedures should minimize stress on joints and finished surfaces. Supporting the artwork adequately during movement and protecting surfaces from contact damage preserves the investment in time and materials. Consider professional handling for valuable or irreplaceable pieces.
Photographic documentation of the original appearance provides valuable references for maintenance and repair decisions. These records help match colors and finishes accurately while documenting the artwork's evolution over time. Include details of materials, finishes, and construction techniques for future reference.
Advanced Decorative Treatments and Techniques
Distressed finishing techniques can transform new wood into pieces with apparent age and character. Selective sanding, strategic wear patterns, and layered paint treatments create convincing aged appearances that complement rustic or vintage decorating schemes. These techniques require restraint to avoid overdoing effects that should appear naturally evolved.
Paint washing and color layering add depth and complexity to chevron patterns while allowing wood texture to remain visible. Multiple thin layers of different colors create rich, nuanced surfaces that change appearance under different lighting conditions. Water-based glazes provide working time for blending and adjustment during application.
Antiquing techniques using dark wax or gel stains emphasize wood grain and joint lines while creating overall aged character. These products settle into surface irregularities and grain patterns, creating natural-looking contrast that enhances the wood's texture. Apply sparingly and blend carefully for convincing results.
Burn-in and wood filler techniques repair minor defects while maintaining pattern continuity. Colored wood fillers can be mixed to match surrounding wood tones exactly, while burn-in techniques allow for nearly invisible repairs of small gaps or imperfections. These professional restoration methods produce results that blend seamlessly with surrounding materials.
Decorative inlay work introduces contrasting materials that create sophisticated accent details within chevron patterns. Thin strips of contrasting wood, metal, or synthetic materials can define pattern boundaries or add linear details that enhance geometric complexity. These techniques require precision cutting and fitting for professional results.
Texture enhancement through sandblasting, wire brushing, or chemical treatment creates surface variations that interact dramatically with light and shadow. These techniques work particularly well with bold chevron patterns where enhanced texture emphasizes the geometric structure. Protective finishing becomes crucial after texture treatments to maintain durability.
Cost Analysis and Budget Planning
Material costs for chevron wood wall art vary significantly based on wood species selection, project size, and quality requirements. Premium hardwoods command higher prices but often justify the investment through superior appearance and longevity. Softwood alternatives like cedar provide excellent value while offering natural beauty and workability.
Tool investment considerations affect project budgets, particularly for first-time woodworkers who may need to acquire specialized equipment. Rental options for expensive tools like miter saws make projects more accessible while allowing evaluation before purchase decisions. Consider tool sharing arrangements with neighbors or friends to spread costs.
Time investment calculations should include all project phases from planning through final finishing. While material costs remain relatively fixed, time investments can vary dramatically based on skill level and available working time. Realistic time estimates help avoid project abandonment due to underestimated commitments.
Finishing material costs often exceed initial expectations, particularly when using high-quality protective coatings. Professional-grade finishes provide superior results and durability but command premium prices. Consider long-term maintenance costs when evaluating finish options.
Professional assistance costs for specialized operations like mounting or electrical work should be included in budget planning. Some aspects of installation may require professional expertise to ensure safety and code compliance. Factor these services into total project costs from the beginning.
Alternative approaches like kit purchases or pre-cut materials can reduce both time and tool requirements while potentially increasing material costs. These options make projects accessible to those with limited workshop facilities while ensuring consistent quality components.
Conclusion
Creating stunning DIY chevron wood wall art represents a perfect synthesis of traditional woodworking skills and contemporary design sensibilities. This comprehensive guide has explored every aspect of the creative process, from initial planning and material selection through advanced finishing techniques and long-term maintenance considerations. The journey from raw lumber to finished artwork provides immense satisfaction while developing valuable craftsmanship skills that extend far beyond single project boundaries.
The timeless appeal of chevron patterns ensures that these handcrafted pieces will remain relevant and attractive for decades to come. Unlike mass-produced decorative items that quickly become outdated, handcrafted wood art gains character and value with age. The natural variations in wood grain and the subtle imperfections that mark human craftsmanship create unique pieces that cannot be replicated through industrial processes.
Successful chevron wood wall art projects require patience, precision, and attention to detail, but these demanding standards produce correspondingly rewarding results. Each completed piece represents a significant investment in time and skill development while creating lasting beauty that enhances any living environment. The skills learned through these projects transfer readily to other woodworking endeavors, building foundations for lifelong creative expression.
The flexibility inherent in chevron patterns allows for endless variation and personal expression within established geometric frameworks. Color choices, wood species selection, scale variations, and finishing treatments provide virtually unlimited customization possibilities. This adaptability ensures that each project can be tailored precisely to specific decorative requirements and personal aesthetic preferences.
From modest first attempts to sophisticated masterpieces, chevron wood wall art projects offer appropriate challenges for craftspeople at every skill level. Beginners gain confidence through successful completion of manageable projects, while experienced woodworkers find opportunities to refine technique and explore advanced approaches. The progressive nature of skill development keeps these projects engaging throughout the maker's evolving journey.
The environmental benefits of creating handcrafted wood art deserve recognition in our increasingly sustainability-conscious world. Working with locally sourced materials, minimizing waste through careful planning, and creating durable items that resist obsolescence all contribute to responsible resource usage. These practices align craftsmanship with environmental stewardship in meaningful ways.
Community connections often develop naturally around woodworking pursuits, as shared interests and mutual assistance create lasting friendships. Local woodworking clubs, maker spaces, and online communities provide valuable resources for learning, troubleshooting, and inspiration. These connections enrich the crafting experience while building supportive networks that extend beyond individual projects.
The therapeutic aspects of woodworking contribute significantly to its appeal, offering respite from digital overwhelm and providing tangible evidence of productive effort. The rhythmic nature of hand tool use, the pleasant aromas of fresh wood shavings, and the satisfaction of fitting joints perfectly all contribute to meditative experiences that refresh mind and spirit. These benefits extend far beyond the completed projects themselves.
Educational opportunities abound within chevron wood wall art projects, encompassing geometry, material science, tool usage, and design principles. Parents and educators can use these projects to illustrate mathematical concepts while developing practical skills and creative confidence. The interdisciplinary nature of woodworking provides rich learning experiences that engage multiple intelligences simultaneously.
Investment in quality tools and materials pays dividends throughout countless future projects, making initial expenditures increasingly cost-effective over time. Learning to select, maintain, and use woodworking tools properly develops practical skills while building workshops that support creative expression for years to come. This long-term perspective transforms tool purchases from expenses into investments.
Safety consciousness must remain paramount throughout all woodworking activities, protecting both the craftsperson and those who will ultimately enjoy the finished pieces. Proper tool usage, appropriate safety equipment, and careful work habits prevent accidents while modeling responsible practices for others. Safety awareness becomes second nature through consistent application and never compromises project quality.
The legacy aspects of handcrafted items add emotional value that far exceeds material costs or time investments. Pieces created with care and skill become family treasures that carry forward the maker's memory and values through generations. This potential for lasting impact provides additional motivation for pursuing excellence in every aspect of the creative process.
Future project possibilities multiply as skills develop and confidence grows through successful completion of chevron wood wall art projects. Advanced techniques, larger scales, and more complex patterns become achievable goals that maintain interest and provide continued challenges. The progression from simple to sophisticated projects mirrors personal growth and expanding capabilities.
Whether created as personal enjoyment, gifts for others, or potentially profitable ventures, chevron wood wall art projects deliver value that extends far beyond their immediate decorative function. They represent investments in skill development, creative expression, and personal satisfaction that continue paying dividends long after the final finish coat has dried. The combination of practical utility, aesthetic appeal, and personal accomplishment makes these projects exceptionally worthwhile pursuits for anyone drawn to the rewarding world of woodworking craftsmanship.
The intersection of traditional hand skills with contemporary design sensibilities creates opportunities for innovation within established frameworks. Modern tools and materials enable precision and efficiency that would have been impossible for earlier generations, while time-tested principles of proportion, balance, and craftsmanship remain as relevant as ever. This blend of old and new approaches produces results that honor woodworking traditions while embracing current possibilities.
Through careful attention to every detail from initial planning through final installation, DIY chevron wood wall art projects become expressions of personal creativity and technical skill that enhance both maker and environment. The journey of creation provides as much value as the finished destination, offering opportunities for learning, growth, and satisfaction that extend far beyond the workshop walls into every aspect of life touched by the maker's enhanced capabilities and confidence.

